
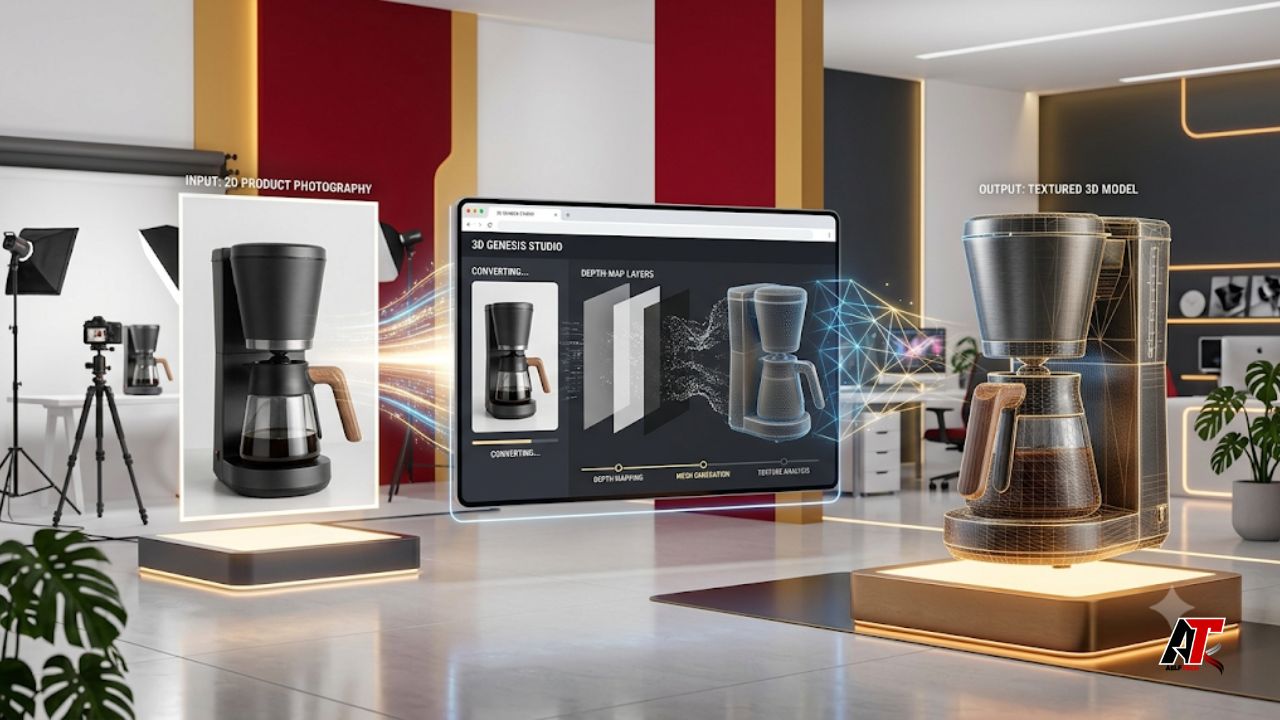
Turning a flat picture into a usable 3D asset once required advanced modeling skills, expensive software, and hours of manual work. Today, an image to 3D model generator can estimate depth, build a mesh, and apply textures with much less effort. This makes 3D creation more accessible to product sellers, game developers, architects, educators, designers, and hobbyists.
Still, the generator alone does not guarantee a perfect model. The quality of the source image, the AI model, the export format, and the cleanup process all affect the result. A clear product photo may produce a strong model quickly, while a cluttered or reflective image can create missing parts, distorted surfaces, or inaccurate textures.
This guide explains how to turn an image into a 3D model step by step and choose a generator that fits web, animation, prototyping, augmented reality, or 3D printing projects.
What Does an Image-to-3D Generator Do?
An image-to-3D generator uses artificial intelligence to estimate the three-dimensional shape of an object shown in a two-dimensional picture. It identifies the subject, separates it from the background, predicts depth, and builds a digital surface called a mesh. It may also create or project texture information so the model carries colors and visible details from the original image.
With a single image, the system must predict the back, bottom, and hidden areas. Multi-view generators reduce this guesswork by accepting front, side, rear, and angled views of the same object. The output can usually be exported in common formats such as GLB, OBJ, FBX, STL, USDZ, or BLEND, depending on the platform and intended use.
1. Decide How You Will Use the Final Model
Start with the end goal because it determines the settings and file format you need. A model for an online product viewer does not require the same topology as an animated game character. A presentation asset may only need to look good from a few angles, while a printable part must have a closed, solid surface.
For e-commerce, prioritize realistic textures, manageable file size, and browser-friendly formats. For games, look for efficient polygon counts and engine compatibility. For animation, the mesh needs organized edge flow so it can bend after rigging. For 3D printing, check that the model is watertight and properly scaled.
Defining the purpose first prevents wasted time and helps you compare generators based on features that truly matter.
2. Select a Clear Source Image
The source image is one of the strongest predictors of output quality. Choose a sharp, high-resolution picture in which the object fills most of the frame. The full shape should be visible, including important edges, handles, legs, or accessories. Avoid crops that remove parts of the subject because the generator may invent those areas incorrectly.
Use a plain background and soft, even lighting. Heavy shadows may be mistaken for geometry, while overexposed areas can erase details. Single, solid objects such as furniture, shoes, toys, tools, and product packaging are usually easier to reconstruct than crowded scenes.
Glass, mirrors, thin wires, hair, transparent fabric, and highly reflective metal are more difficult because their boundaries and surfaces are harder to understand from one view.
3. Prepare and Clean the Image
A few minutes of preparation can save much more time during 3D cleanup. Remove unrelated objects, center the subject, improve brightness, and correct strong color casts. When the background is busy, remove it and place the object on a clean white, gray, or neutral canvas.
Keep the original proportions. Stretching or squeezing the image can create incorrect dimensions in the final model. For multi-view generation, use the same object, lighting, distance, scale, and orientation across all images. Do not mix photographs from different versions of a product.
Choose the angle that reveals the most defining features. A front or three-quarter view often works well for symmetrical objects. Save the prepared file in a supported format such as JPG, PNG, or WebP.
4. Choose the Right Generator
The best generator is the one that matches your project, budget, experience, and desired output. Beginners may prefer a browser-based platform with automatic settings and an interactive preview. Professionals may need multi-view input, detailed texture controls, retopology, batch processing, API access, or several export formats.
Compare both mesh quality and texture quality. Some tools create attractive renders but produce irregular geometry that is difficult to edit. Others create cleaner shapes but need more texture work. Check commercial-use terms, export restrictions, privacy policies, and whether the tool supports the formats required by your software.
A practical approach is to test an online image to 3D model workflow with a simple object. Use the same source image in different tools, rotate each result, and inspect the hidden sides before choosing a platform for a larger project.
5. Upload the Image and Configure Settings
After uploading, select settings according to the final use. Higher mesh quality can capture more shape detail, but it creates larger files and may increase processing time. A standard mesh is often enough for background objects or small web displays. Detailed settings are better for hero products, close-up renders, or assets that will be edited later.
Texture quality controls surface sharpness. High-resolution textures are useful for close views, but they can slow websites and applications. Choose a balanced size for mobile or web use.
Some tools offer basic shaded materials and physically based rendering materials. Physically based materials may include roughness, metallic, and normal information for realistic lighting in game engines and renderers. When using multiple views, confirm that every image shows the same scale and orientation before generation.
6. Inspect the Model From Every Angle
Do not judge the result from the front view alone. Rotate the model and inspect the rear, top, bottom, sides, and narrow details. Look for stretched surfaces, melted edges, holes, duplicated parts, floating geometry, and texture seams. Hidden areas deserve extra attention because they were predicted rather than directly observed.
Compare the silhouette with the source image. A model may have an attractive texture while still having the wrong shape. When possible, turn off textures and inspect the plain mesh under simple lighting. This makes dents, bumps, and structural errors easier to see.
Also check scale and orientation. If the model has major problems, improve the source image or try another AI model before spending hours on manual repair.
7. Clean the Mesh and Improve Topology
AI-generated meshes often contain many uneven triangles. This can be acceptable for a static preview, but editing, rigging, and animation usually benefit from cleaner topology. Retopology rebuilds the surface with a more organized polygon structure, reducing file size and improving deformation.
Use automatic retopology for quick cleanup, then review important edges. Characters need useful loops around joints, eyes, and mouths. Manufactured products need clean corners and flat surfaces. For web use, remove hidden geometry and reduce polygons while preserving the visible silhouette.
Repair holes, merge overlapping vertices, and correct surface normals if parts appear dark or transparent. For 3D printing, confirm that the mesh forms one continuous, closed volume. Cleanup may be completed inside the generator or in software such as Blender.
8. Refine Textures and Materials
Textures strongly affect whether the model looks finished. Inspect the color map for blurry areas, repeated details, incorrect logos, or obvious seams. Hidden surfaces may contain invented colors that do not match the real object, so they may need repainting.
For realistic rendering, review roughness, metallic, and normal maps. Plastic, wood, fabric, ceramic, and metal reflect light differently. Correct materials help the asset respond naturally to environmental lighting.
When the model represents a branded product, verify printed text and symbols carefully. AI can distort small lettering, so replacing labels manually is often more reliable. Keep texture sizes suitable for the viewing distance. Oversized maps increase download size and memory use without always improving the user experience.
9. Export in the Correct File Format
Choose the format based on the destination platform. GLB combines geometry, materials, and textures in a compact file and works well for web viewers. FBX is common in animation and game development. OBJ is widely compatible, although its materials may be stored separately. STL is frequently used for 3D printing, while USDZ supports certain augmented reality workflows on Apple devices.
Before exporting, apply the correct scale, center the object, and set a sensible origin point. Name files clearly and keep separate texture files together.
Export a test version first. Open it in the destination application and confirm that materials, orientation, size, and texture paths remain correct. A file that looks perfect in the generator may behave differently after import.
10. Test the Model in Its Real Environment
The final test should happen where the model will actually be used. Place a web model on a test page and check loading speed on desktop and mobile devices. Import a game asset into the target engine and review lighting, collision, scale, and performance. Slice a printable file and inspect wall thickness, supports, and weak areas.
For augmented reality, test the model at a realistic size under different lighting conditions. For product marketing, confirm that colors and important features remain clear on smaller screens. For animation, perform a basic rig and movement test before finishing the textures.
Real-world testing may show that the file is too heavy, too shiny, or not detailed enough. Good optimization keeps visible quality while removing data that does not improve the experience.
Common Mistakes to Avoid
A common mistake is expecting one poor image to produce a production-ready model. AI can estimate hidden geometry, but it cannot recover details that are unclear. Another mistake is using the highest setting for every project. Extremely dense meshes and oversized textures can make files slow and difficult to edit.
Users also overlook licensing. Confirm whether commercial use, client work, resale, or model distribution is allowed. Do not upload copyrighted or confidential images without permission or a clear understanding of how the platform stores data.
Finally, never skip quality checks. Rotate the model, inspect the mesh without textures, and test the exported file. Cleanup is a normal part of the process. Even good AI output may need retopology, texture correction, scaling, or small shape adjustments.
Conclusion
Turning an image into a 3D model is now easier, but strong results still depend on good preparation and careful review. Define the purpose of the asset, choose a clean and well-lit image, and select a generator that supports the required quality and file format. Use settings that match the final use instead of automatically choosing the maximum options.
After generation, inspect every angle, clean the topology, correct the materials, and test the export in its real environment. Single-view AI is useful for quick concepts and simple objects, while multi-view input is better when accurate hidden geometry matters.
With a consistent workflow, creators can reduce manual modeling time and prepare useful assets for websites, games, product visualization, augmented reality, animation, and 3D printing. For more digital content and growth guidance, readers can explore aelftech.com.
Leave a Reply