

You’ll probably think I can manage my website without any specific tools. Well, you need to understand that without proper tools, decisions rely on guesswork rather than facts. So, even small technical issues slowly turn into revenue loss.
Yes, you need to have the right stack of webmaster tools to monitor, troubleshoot, and optimize your business website in 2026 and beyond. Here’s what goes wrong without webmaster tools:
- Search visibility declines because indexing issues stay unnoticed
- Service pages fail to appear for high-intent searches
- Traffic numbers look fine, but inquiries stop converting
- Slow page speed pushes visitors away before engagement
- DNS errors cause random downtime or email delivery failures
- Broken links and server issues remain hidden
- Spam traffic mixes with real visitors and pollutes data
- Tracking gaps block clarity around calls, forms, and actions
- Performance issues reach customers before you notice
- Growth decisions rely on assumptions rather than real data
So, let us walk you through the 10 best webmaster tools that every website owner should use.
1: Google Search Console
Let’s say you run a local service business, such as a cleaning service, a digital agency, or a home repair company. The website brings inquiries, calls, and booking requests, and Google Search drives most of that demand. Right? The very first tool you need is Google Search Console because it connects the website directly with Google Search.
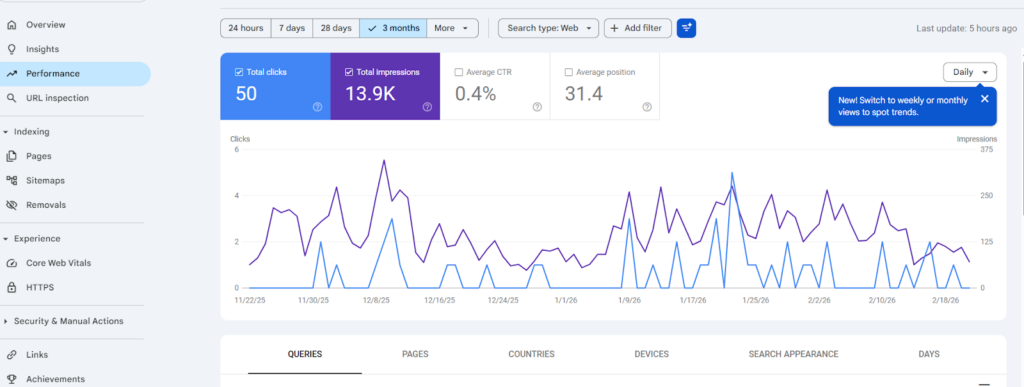
Google Search Console gives you a clear way to understand how Google reads service pages, contact pages, and location pages. It helps you gain direct visibility into search activity without relying on assumptions or third-party summaries.
Okay, let’s consider a common website situation.
For instance, you have published a new service page, “Office Cleaning in Dallas”. Days pass, yet customer inquiries remain flat. You’ll probably start wondering what’s going on. So, instead of worrying, you can simply go to Google Search Console to grasp your website’s real-time visibility at the search level.
What does Google Search Console help you understand?
- Search queries people use to find service pages
- Impressions and clicks generated from Google Search
- Average positions for key service-related searches
- Service pages are stored inside Google’s index
- Pages excluded or delayed from search results
- Alerts related to crawl, security, or page experience
- Core Web Vitals status for mobile and desktop visitors
- Structured data eligibility for enhanced search results
How to use Google Search Console step by step?
- Open Google Search Console and add the service website
- Select a domain property to cover all subdomains and protocols
- Complete ownership verification through DNS or site platform
- Submit an XML sitemap that includes service and contact pages
- Open the Performance report to review service-related queries
- Sort queries by average position to identify near-ranking services
- Open Pages or Sitemaps reports to confirm index coverage
- Inspect individual service URLs to review crawl and rendering details
- Request indexing after publishing or updating service pages
- Review Core Web Vitals reports to confirm page experience quality
- Monitor email alerts and address reported issues quickly
From there, Google Search Console will be a daily reference. You can rely on it to confirm service visibility, validate updates, and keep a service business website aligned with how Google Search evaluates every page.
2: DNS Checker
Let’s say you have recently switched hosting, updated nameservers, or connected a new email service. Everything looks correct inside the hosting panel, yet customers report that the website does not load or emails fail to arrive. At this point, confusion grows fast. The tool you need right here is DNS Checker because it shows how DNS changes spread across the internet worldwide.
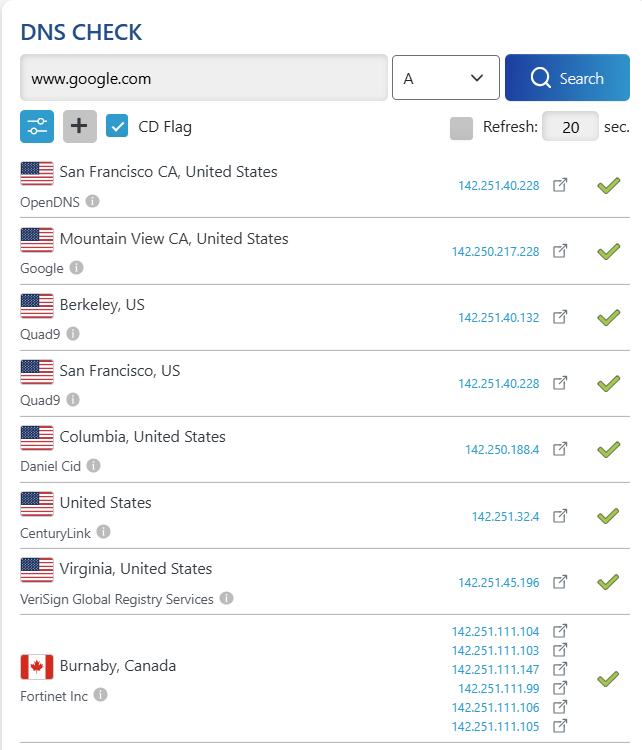
DNS Checker gives you a clear view of DNS propagation status across hundreds of global DNS servers. Instead of assuming that DNS updates are finished, you can verify exactly where the changes reached and where delays still exist.
For instance,
You update the A record to point the domain toward a new server. The website opens fine on your own device, but a client from another country sees the old site or an error page. That situation creates doubt about hosting, caching, or configuration. DNS Checker removes that uncertainty by showing the real propagation status by location.
What does DNS Checker help you understand?
- Global propagation status of DNS changes
- DNS visibility across countries, continents, and ISPs
- A record and AAAA record resolution for IPv4 and IPv6
- CNAME, MX, NS, TXT, and SOA record availability
- Regional delays caused by DNS caching
- Mismatch between expected and actual DNS values
- DNS availability for websites and email services
Each result answers one key question: which locations see the updated DNS records and which still rely on old data. Okay?
How to use DNS Checker step by step?
- Open DNS Checker and enter the domain name
- Select the DNS record type from the dropdown list
- Choose A, AAAA, CNAME, MX, NS, TXT, or another record
- Click the search button to start the propagation check
- Review the world map and server list for green or red indicators
- Confirm whether DNS records match the expected value
- Filter results by country, continent, or specific DNS servers
- Add a custom DNS server if verification requires a specific provider
- Recheck after some time if the propagation remains incomplete
DNS Checker is a kind of verification tool you return to whenever DNS changes occur. You can use it to confirm hosting moves, domain updates, email routing, and SSL-related DNS changes without guessing or waiting blindly.
3: Google Analytics 4
Let’s say you run a local service business, such as a cleaning company. The website brings contact form requests, phone calls, and quote inquiries. Traffic arrives from Google Search, local listings, and paid ads. Now the real question appears. Which pages convince visitors to contact you, and which pages lose them? The very next tool you need is Google Analytics 4 because it explains visitor behavior after people land on the website.
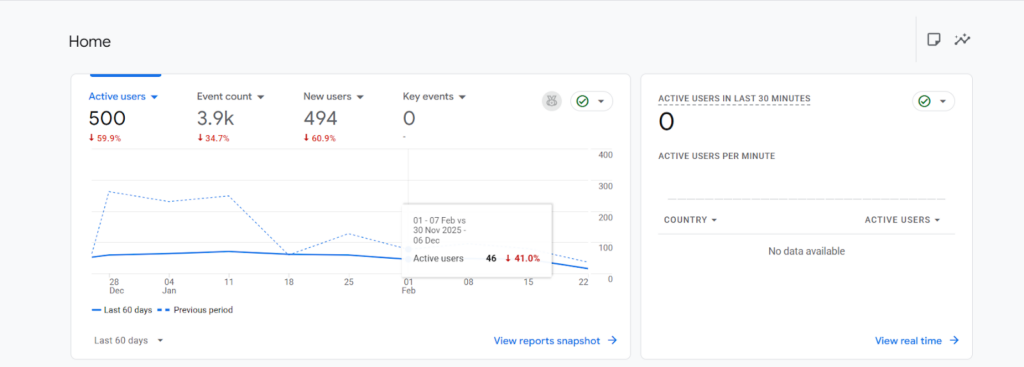
Google Analytics 4 focuses on actions, not just visits. It shows how real users move through service pages, pricing pages, and contact forms. You can see what visitors click, where attention drops, and which paths lead to inquiries.
For example,
You have published a new service page, and traffic numbers look healthy. Still, inquiries are nowhere to be found. At that point, traffic alone does not explain performance. Google Analytics 4 helps uncover what visitors actually do after arrival. You can see whether visitors scroll, click call buttons, submit forms, or leave early.
What does Google Analytics 4 help you understand?
- Number of visitors reaching service pages
- Traffic sources such as Google Search, ads, or referrals
- Pages visitors view before contacting the business
- Actions like phone clicks, form submissions, and button taps
- The time visitors spend on service descriptions
- Drop-off points where visitors leave the website
- Device usage across mobile and desktop visitors
- Geographic locations tied to service demand
Each insight answers a simple business question: which parts of the website generate interest and which parts need adjustment.
How to use Google Analytics 4 step by step?
- Open Google Analytics and create a new GA4 property
- Add the website through Google Tag Manager or direct tag setup
- Confirm data flow through the Realtime report
- Open the Reports section and review Traffic acquisition
- Check Pages and screens to evaluate service page engagement
- Review Events to confirm contact form and call tracking
- Mark key actions as conversions for lead tracking
- Use Explorations to trace visitor paths before inquiries
- Compare mobile and desktop behavior patterns
- Review location data to align services with demand areas
Once you start using it, Google Analytics 4 will act as your decision guide. It will help you adjust service pages, improve call-to-action placement, and refine marketing focus based on how real visitors interact with the business website.
4: What’s My DNS
Let’s say you run a local service business, such as a cleaning company, and the website just moved to a new hosting provider. The site loads fine on your own laptop, yet a client calls and says the website does not open. Another client reports an old version of the site. You’ll soon be very confused, but WhatsMyDNS can help you through this.
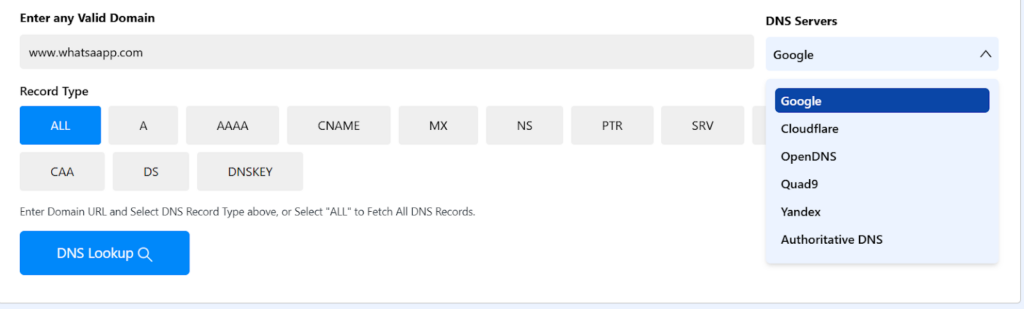
WhatsMyDNS helps you check how a domain resolves across different DNS servers worldwide. Instead of assuming everything works everywhere, you can actually see whether DNS records point correctly from different locations.
For example,
You have updated hosting, connected a CDN, or changed email settings. The dashboard shows success, yet emails fail or pages load inconsistently. The issue usually sits inside DNS records. WhatsMyDNS lets you confirm whether DNS changes reached the internet or whether propagation is still in progress.
What does WhatsMyDNS help you understand?
- An IP address linked with a domain name
- DNS records are visible across global DNS servers
- Differences between old and updated DNS values
- Email routing through MX records
- Alias connections through CNAME records
- Nameservers responsible for DNS control
- TXT records tied with verification or email security
- DNS consistency across regions and providers
Each check answers one simple question. Does the internet see the same setup that you configured?
How to use WhatsMyDNS step by step?
- Open WhatsMyDNS and enter the business domain
- Select a DNS record type such as A, MX, or CNAME
- Choose a DNS server or keep the default global view
- Run the lookup and review results from multiple locations
- Compare returned values with expected hosting or email IPs
- Identify locations that still show outdated records
- Recheck after a few hours during DNS propagation
- Confirm global consistency once records align
WhatsMyDNS is a visibility tool for DNS health, which helps you validate changes, avoid silent downtime, and keep a service business website accessible across the internet without guesswork.
5: IP Location Checker
Let’s say you run a local service business, such as a cleaning company, and inquiry emails suddenly stop converting. Forms submit fine, yet calls feel off and spam requests increase. You start wondering where visitors actually come from and whether traffic even matches the service area. That’s where IPLocation.io earns a place in your webmaster toolkit.
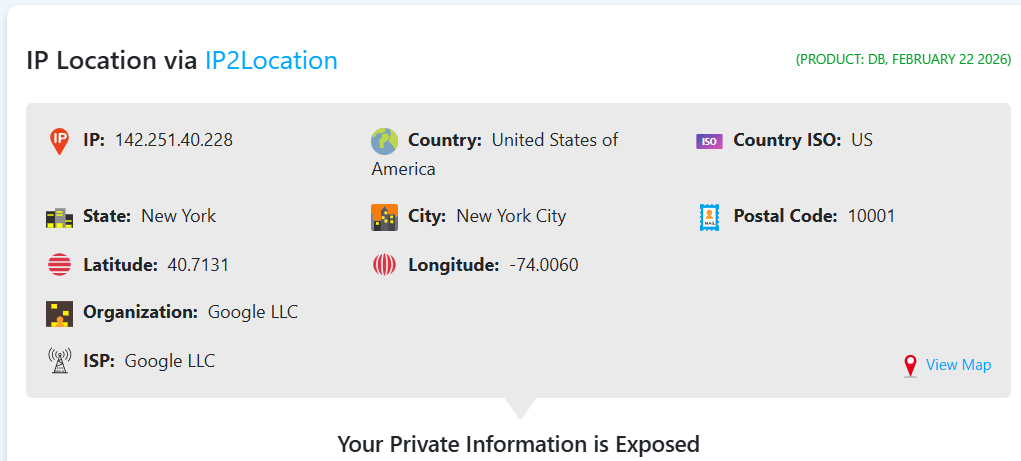
IPLocation.io helps you identify the geographic origin behind an IP address. It turns anonymous visits into location context, so you understand whether traffic aligns with the service area or raises red flags.
For instance, someone has filled out a contact form with vague requests. Some inquiries come at odd hours, whereas others are automated. You need clarity before blocking traffic or adjusting campaigns. IPLocation.io lets you trace IP addresses tied with visits, form submissions, or email headers and confirm where requests originate.
What does IPLocation.io help you understand?
- Country, state, and city tied with an IP address
- The Internet service provider behind a visitor
- ASN and organization details
- Proxy, VPN, or hosting indicators
- Threat level signals tied to suspicious traffic
- Public IP address assigned by an ISP
- Differences between IPv4 and IPv6 addresses
How to use IPLocation.io step by step?
- Open IPLocation.io and enter an IP address
- Review country, city, and region details
- Check ISP and organization ownership
- Inspect the ASN information for the network source
- Review proxy, VPN, or hosting flags
- Cross-check results with form submissions or server logs
- Use findings to filter spam or adjust targeting
IPLocation.io will definitely help you validate traffic quality, protect service forms, and align marketing efforts with the locations that actually matter to the business.
6: PageSpeed Insights
There are times when your website doesn’t load quickly. It takes time before content appears, buttons respond late, and images shift while loading. So visitors leave before they can even read service details or reach the contact section. When that happens, PageSpeed Insights helps you identify exactly where speed breaks the user experience.
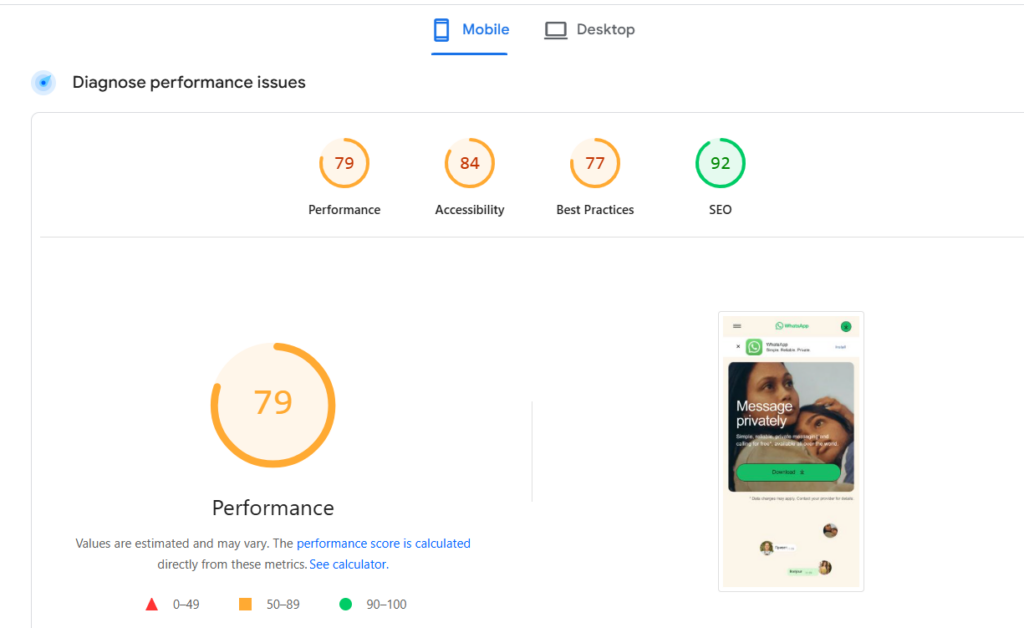
PageSpeed Insights shows how fast a page loads for real visitors on mobile and desktop. It connects performance with user experience, so you understand whether slow loading blocks conversions before visitors even read service details.
For instance,
One of your service pages looks fine on the desktop. However, mobile visitors experience delays. Images shift while loading, and buttons respond late. PageSpeed Insights exposes the reason behind such problems using real user data.
What does PageSpeed Insights help you understand?
- Loading speed for mobile and desktop pages
- Real user experience through Chrome User Experience data
- Core Web Vitals status across key metrics
- Largest content load timing for service pages
- Page interaction responsiveness after user actions
- Visual stability during page load
- Server response time is affecting the first page view
- Performance quality is labeled as Good, Needs Improvement, or Poor
How to use PageSpeed Insights step by step?
- Open PageSpeed Insights and enter a service page URL
- Review mobile results first since local searches rely on phones
- Check the Core Web Vitals section for the overall experience status
- Focus on Largest Contentful Paint for hero sections
- Review Interaction to Next Paint for button responsiveness
- Check Cumulative Layout Shift for layout movement issues
- Scroll to diagnostics and note improvement suggestions
- Share priority fixes with the site developer or hosting provider
- Recheck the page after updates to confirm improvement.
As you start using it, PageSpeed Insights will act as your website’s performance mirror. It will help you improve load speed, protect mobile experience, and keep service pages ready for real customers at the exact moment they decide to contact you.
7: URL Decoder
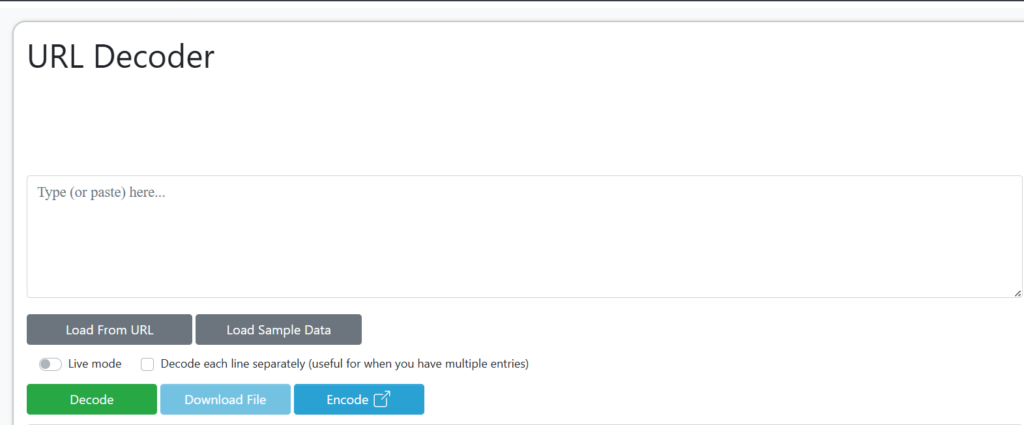
Let’s say you run a local service business and share booking links through email campaigns or WhatsApp. A customer reports that the link opens the wrong page. Another link tracks conversions incorrectly. Instead of guessing, URL Decode lets you read the link exactly as browsers and servers interpret it.
What does URL Decode help you understand?
- Real structure of encoded service URLs
- Query parameters passed through campaigns
- Form submission values inside URLs
- Tracking tags added by ad platforms
- Redirect destinations hidden inside links
- QR code URLs before public use
How to use URL Decode step by step?
- Open the URL Decode tool in a browser
- Paste the encoded URL into the input field
- Enable live mode for instant decoding
- Review the decoded output line by line
- Copy readable parameters for analysis
- Download decoded results for records if needed
You’ll find a wide range of additional tools on the URL Decode platform, each designed to solve small but practical website tasks.
8: JSON Formatter
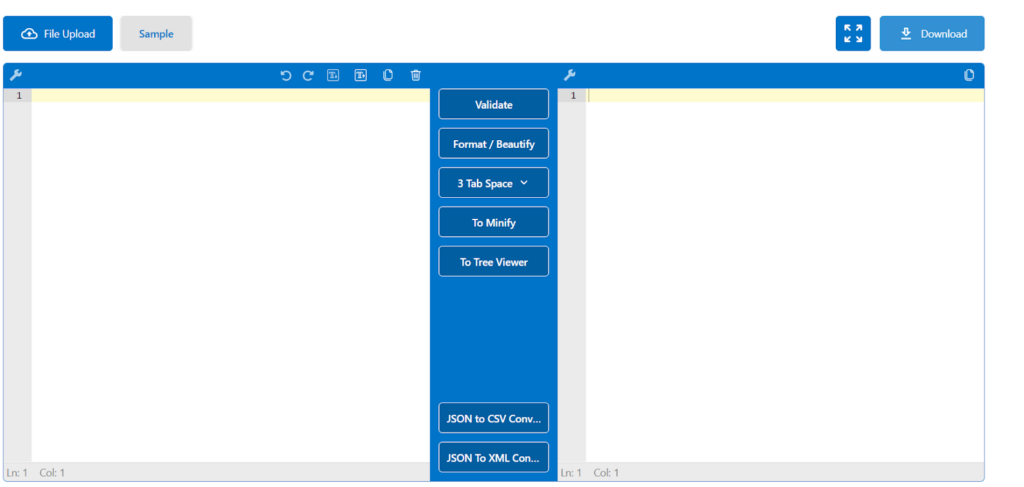
JSON Formatter helps you read, validate, and organize JSON data without technical stress. It turns confusing data into a clean structure so you can quickly spot errors and confirm everything lines up correctly.
Okay, let’s walk through a real example
For instance, a contact form sends inquiries to a CRM tool. Leads suddenly stop syncing. The CRM shows a JSON error message. Instead of guessing, you can paste the JSON response into JSON Formatter. The validator highlights a missing comma on a specific line. So, you can fix the value, resend the data, and form delivery resumes.
What JSON Formatter helps you understand?
- Whether JSON data follows proper structure and syntax
- Exact line numbers where errors exist
- Nested data relationships through a clear tree view
- Clean formatting for reading logs or responses
- Compact minified data for storage or transfer
- CSV or XML versions for reporting or sharing
How to use JSON Formatter step by step?
- Open the JSON Formatter tool
- Paste JSON data or upload a file
- Click Validate to check structure and syntax
- Use Format / Beautify to organize the data clearly
- Switch to Tree View to review nested values
- Select Minify when compact output is needed
- Download the formatted file or copy the result
JSON Formatter fits perfectly into a webmaster toolkit because it removes guesswork. You gain clarity over data flow, confirm integrations faster, and keep website features working smoothly without outside help.
9: Image Text Converter
Imagetotextconverter.net helps with routine tasks like data entry, record keeping, and content reuse feel lighter and faster. It uses OCR technology to read printed or handwritten content and convert it into usable digital text. So, you can gain speed, accuracy, and control without installing software or learning technical steps.

For example, a cleaning service receives booking details through WhatsApp images. Addresses, timings, and special instructions arrive as photos. Instead of retyping everything, you upload images to the Image Text Converter. It will give you editable and shareable text instantly. You can easily copy details into a booking sheet and move forward without delays.
What does an Image Text Converter help you achieve?
- Text extraction from photos, screenshots, and scanned documents
- Digital copies of physical paperwork for records
- Editable text from low-quality or blurred images
- Support for multiple image formats and languages
- Secure processing with automatic file deletion
- Downloadable output for sharing or storage
How to use an Image Text Converter step by step?
- Open the image to text tool
- Upload images, paste a URL, drag files, or use copy-paste
- Adjust image orientation with crop, rotate, or flip options
- Click Convert Image to Text
- Review the extracted text on the screen
- Copy content or download it as TXT, PDF, or DOCX
Image Text Converter completes a webmaster toolkit by handling information that arrives outside traditional forms.
10: Image Compressor
Let’s say you manage a service website and upload photos regularly. Service galleries, before-and-after images, profile photos, and documents all need fast loading and strict size control. Large image files slow pages, delay form submissions, and cause upload rejections on portals. An Image Compressor solves that problem in minutes.
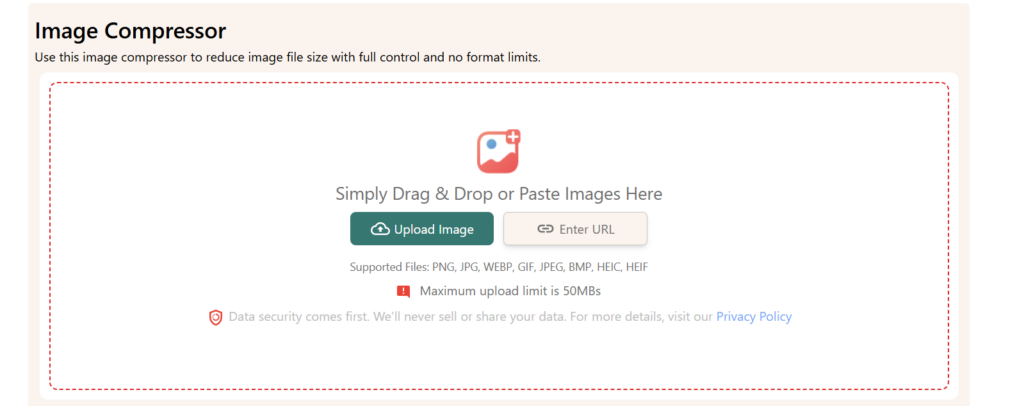
An Image Compressor reduces image file size while preserving visual clarity. So, you can keep full control over output size without format restrictions.
What does an Image Compressor help you handle?
- Faster page loading for service and gallery pages
- Smooth uploads to portals with strict size limits
- Batch compression for multiple images at once
- Support for common formats like JPG, PNG, WEBP, HEIC, and PDF-based images
- Secure processing with no data sharing
- Instant downloads after compression
How to use an Image Compressor step by step?
- Open the image compressor tool.
- Upload images, paste URLs, or drag and drop files
- Allow automatic compression or set a custom target size
- Click Compress to process images
- Download optimized files instantly
- Restart anytime for new uploads
Notably, an Image Compressor completes a webmaster toolkit by keeping visuals lightweight, fast, and upload-ready.
Final Words
Every website runs on different goals, resources, and technical limits. So, it is always best to thoroughly research and review each webmaster tool before building a tool stack. Take time to understand how every tool supports visibility, performance, data clarity, and daily operations.
If you are still uncertain, then consult with professionals to confirm which webmaster tools are truly essential for your website in 2026 and which ones can wait.
Leave a Reply