
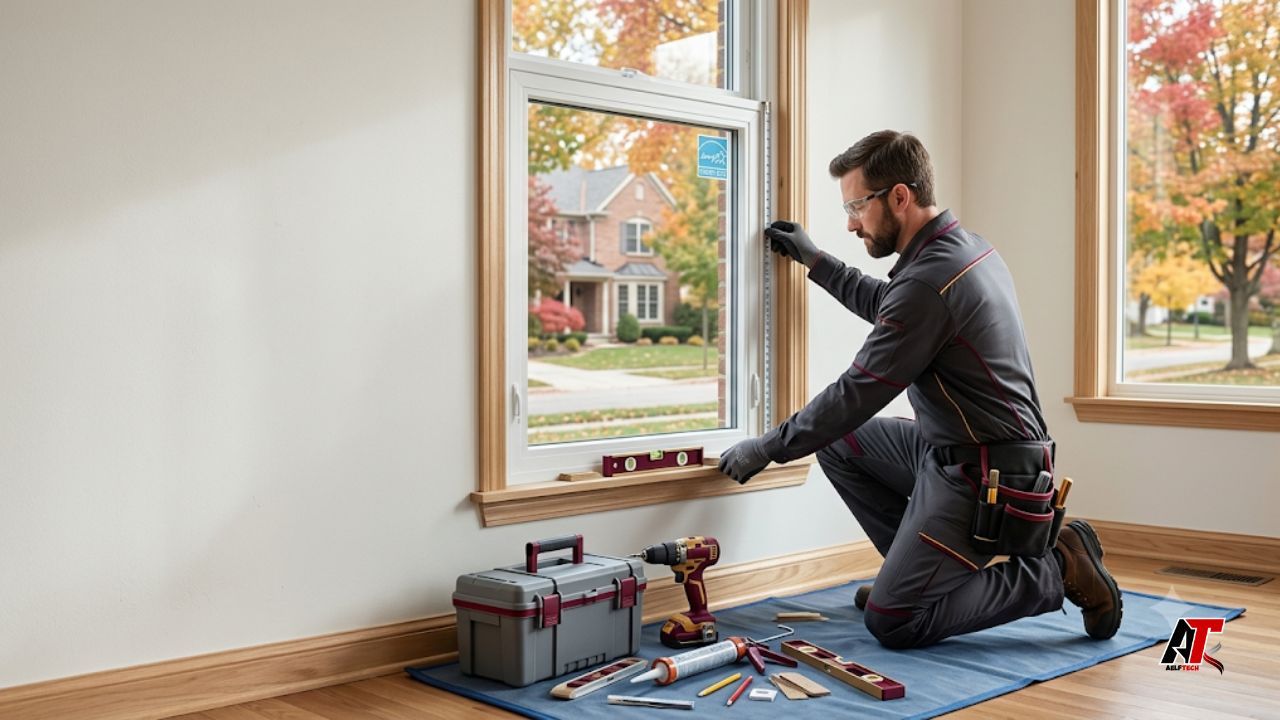
Starting a window installation project in Brighton can improve comfort, appearance, ventilation, security, and energy performance. However, replacing windows is not simply a matter of choosing a style and booking an installation date. The best results come from careful planning before a contractor removes the first old frame. You need to understand why the windows are being replaced, which products fit the home, how much the project may cost, what the installation includes, and how local weather can affect the work.
Brighton, Michigan, experiences cold winters, warm summers, rain, wind, and frequent temperature changes. These conditions place stress on window glass, frames, seals, and surrounding materials. A product that looks attractive in a showroom may not perform well if it is poorly sized or incorrectly installed. This guide explains the main decisions homeowners should make before beginning a window installation project in Brighton, helping you reduce surprises and protect the value of your investment.
1. Identify the Main Reason for Replacing Your Windows
Begin by defining the problem you want the new windows to solve. Some homeowners replace windows because they feel cold drafts, notice condensation between panes, struggle to open or lock the sash, or see cracked frames and damaged seals. Others want a quieter home, easier cleaning, a more modern exterior, or better natural light. Your goal will influence the glass package, frame material, operating style, and installation method you select.
Inspect every window instead of assuming the whole house has the same issue. A north-facing bedroom may feel colder than a sunny living room, while a bathroom window may need better ventilation and privacy. Write down visible damage, air leakage, moisture, difficult operation, and rooms with uncomfortable temperatures. This simple assessment gives contractors clearer information and helps you decide whether to replace all windows at once or complete the work in phases.
2. Understand Replacement Windows Versus New-Construction Windows
There are two broad installation approaches. A replacement or insert window is fitted inside an existing frame that is still structurally sound. This method usually causes less disruption and may preserve interior and exterior trim. A full-frame or new-construction installation removes the old unit down to the rough opening. It provides access to hidden insulation, flashing, rot, and water damage, but it usually involves more labor and finishing work.
Do not choose an insert installation only because the initial quote is lower. If the existing frame is soft, out of square, leaking, or badly deteriorated, covering it can leave the real problem in place. Ask the installer to explain which method is recommended for each opening and why. The written proposal should clearly state whether frames, sills, casing, insulation, flashing, and exterior trim are included.
3. Choose Window Styles That Match Each Room
Different window styles provide different benefits. Double-hung windows are popular because both sashes can move and many models tilt inward for cleaning. Casement windows open outward with a crank and can provide a tight seal when closed. Sliding windows are simple to operate and suit wider openings. Picture windows provide an uninterrupted view but do not open. Awning windows can support ventilation during light rain, while bay and bow windows add depth and architectural character.
Think about furniture placement, walkways, cleaning access, emergency escape needs, and airflow. An outward-opening casement may not be suitable beside a narrow path or deck. A large fixed window can brighten a room but may need another operable window for ventilation. Bedrooms may also have safety and egress requirements. A reliable contractor should help match the window type to the room rather than recommending one style for every opening.
4. Compare Frame Materials Carefully
Frame material affects cost, maintenance, insulation, appearance, and lifespan. Vinyl is widely selected because it is low maintenance, does not require painting, and is available in many energy-efficient designs. Fiberglass is strong, stable during temperature changes, and can provide a slimmer profile, although it often costs more. Wood offers a warm, traditional appearance and suits many older homes, but it needs protection from moisture and periodic maintenance. Aluminum is durable and slim but can conduct more heat unless it includes an effective thermal break.
Compare the complete window rather than selecting a material based on one feature. Ask about reinforcement, corner construction, weatherstripping, color durability, interior finish, and warranty coverage. Dark exterior colors can absorb more heat, so confirm that the chosen finish is approved for the frame system and exposure of your home.
5. Review Energy-Performance Ratings
Energy-efficient windows are especially important in a climate with both heating and cooling seasons. Look beyond marketing terms such as premium, insulated, or high performance. Compare standardized ratings for the entire window unit. The U-factor measures how readily heat moves through the window; a lower number generally indicates better resistance to heat transfer. Solar heat gain coefficient shows how much solar heat enters through the glass. Air-leakage ratings indicate how well the assembled unit limits unwanted airflow.
Low-emissivity glass coatings, insulated glass units, warm-edge spacers, argon or other gas fills, and quality weatherstripping can improve performance. However, the best glass package depends on window direction, shade, room use, and budget. South- and west-facing windows may receive more summer sun, while shaded or north-facing windows may have different priorities. Ask for performance labels and make sure the quoted ratings apply to the exact model and glass package you are buying.
6. Set a Realistic Budget and Request Detailed Quotes
Window project pricing can vary because of size, style, material, glass options, opening condition, access, trim work, and disposal. Specialty shapes, custom colors, grids, upgraded hardware, and full-frame installation can increase the total. An unusually low estimate may exclude important items that appear later as additional charges.
Request written quotes that list the number of windows, model, frame material, glass package, installation method, interior and exterior finishing, insulation, cleanup, old-window removal, permit responsibility, payment schedule, warranty, and estimated timeline. Ask how concealed damage will be handled if rot or structural problems are found. Keep a contingency amount for unexpected repairs, particularly in older homes or around windows with previous leakage. Comparing detailed scopes is more useful than comparing only the final totals.
7. Confirm Local Permit and Approval Requirements
Before work begins, confirm which approvals apply to the property. Requirements can differ depending on whether the home is inside the City of Brighton, in Brighton Township, or under another local jurisdiction. A straightforward window replacement within the same opening may be treated differently from a project that changes the opening size, affects structural framing, or alters an emergency escape window.
Ask the contractor who will contact the appropriate building department, submit documents, pay fees, and arrange inspections when required. Homeowners should also check homeowners association rules, historic-area restrictions, and condominium approval procedures. Never rely only on a verbal statement that no permit is needed. Obtain confirmation from the authority responsible for the property and keep permit or approval records with the project documents.
8. Select a Qualified Brighton-Area Installer
Installation quality is as important as product quality. Even an efficient window can leak air or water if it is measured incorrectly, installed out of square, poorly flashed, or inadequately insulated. Look for a company with relevant local experience, appropriate licensing and insurance, clear warranty terms, and a process for handling service after installation.
Ask how measurements are verified, whether employees or subcontractors perform the work, who supervises the crew, and how the home will be protected. Request recent local references and review completed projects that are similar to your home. Homeowners researching providers can also explore Window Installation Brighton MI to understand locally available window replacement and installation services. Use every consultation to compare communication, product knowledge, workmanship standards, and the completeness of the proposal.
9. Ask About Flashing, Insulation, and Water Management
A window opening must manage water as well as air. The exact installation details depend on the wall system, siding, existing frame, and whether the job is an insert or full-frame replacement. Ask how the crew will inspect the sill, integrate flashing, seal the perimeter, and direct incidental moisture toward the exterior. Caulk alone should not be treated as the entire water-management system.
Also ask what insulation will be placed between the window frame and rough opening. The material should fill gaps without bowing or distorting the frame. Interior and exterior seals must be compatible with the window and surrounding materials. Before signing, request a plain-language explanation of the installation steps so you know what will be hidden after the trim is reinstalled.
10. Plan the Best Timing for the Project
Window installation can be completed during much of the year, but weather may affect scheduling and working methods. Mild, dry conditions can make exterior sealing and finishing easier. During cold weather, an experienced crew may remove and replace one window at a time to limit indoor exposure. Heavy rain, high winds, extreme temperatures, or unsafe surfaces can delay the work.
Order custom windows early because manufacturing time can be longer than the installation itself. Do not remove treatments or arrange major furniture moves until the products have been confirmed and the date is firm. Ask what conditions may cause rescheduling, how you will be notified, and whether exterior touch-up work might need a return visit. A flexible plan is more realistic than expecting weather-sensitive work to follow an exact hour-by-hour schedule.
11. Prepare Your Home Before Installers Arrive
Good preparation helps the crew work safely and reduces the risk of damage. Remove curtains, blinds, shades, and fragile decorations from the window area. Move furniture away from the walls and provide a clear route from the entrance to each room. Take down nearby pictures and secure items that could be affected by vibration. Outdoors, move planters, patio furniture, hoses, toys, and vehicles away from the work zone.
Cover sensitive electronics and belongings because removal can produce dust. Decide where children and pets will stay while doors are opening and tools are in use. Discuss alarm sensors, window air conditioners, security devices, and access to electrical outlets in advance. If you work from home, expect drilling, hammering, and brief temperature changes. Confirm which rooms will be completed each day so your household can plan around the work.
12. Inspect the Work Before Final Payment
When installation is complete, inspect every window with the project representative. Open, close, tilt, crank, and lock each unit. Check that gaps look even, screens fit correctly, glass is undamaged, hardware works smoothly, and trim joints are neat. Look for exposed foam, incomplete caulking, scratched finishes, loose debris, or damage to siding and walls.
Ask the installer to explain cleaning, lubrication, condensation control, screen care, and warranty claim procedures. Confirm that labels, warranty documents, receipts, and permit records are provided. Take photographs of the finished windows and keep the product details in one file. If anything requires correction, create a written punch list with a completion date instead of relying on a verbal promise.
Common Mistakes to Avoid
Several preventable mistakes can weaken a window project. These include choosing a contractor only by price, accepting a quote without model numbers, ordering windows before final measurements, ignoring signs of water damage, and assuming that a lifetime warranty covers every component and labor cost. Another mistake is selecting the same glass and operating style for every room without considering sun exposure, privacy, ventilation, or access.
Avoid paying the full amount before the products and work have been inspected. Read cancellation, deposit, financing, change-order, and warranty terms before signing. Make sure verbal promises appear in writing. Careful documentation may feel slow at the beginning, but it can prevent disputes and expensive corrections later.
Final Thoughts
A successful window installation project in Brighton begins with clear goals, accurate measurements, suitable materials, realistic budgeting, and a qualified installer. Homeowners should compare complete product ratings and installation scopes, confirm local approval requirements, prepare the property, and inspect the finished work carefully. The lowest quote is not always the best value; durable performance depends on both the window and the way it is installed.
Take time to ask questions and keep every important detail in writing. When the planning is thorough, new windows can make the home more comfortable, attractive, secure, and easier to maintain through Brighton’s changing seasons. For more practical property, technology, and service-related guides, visit aelftech.com.
Leave a Reply