
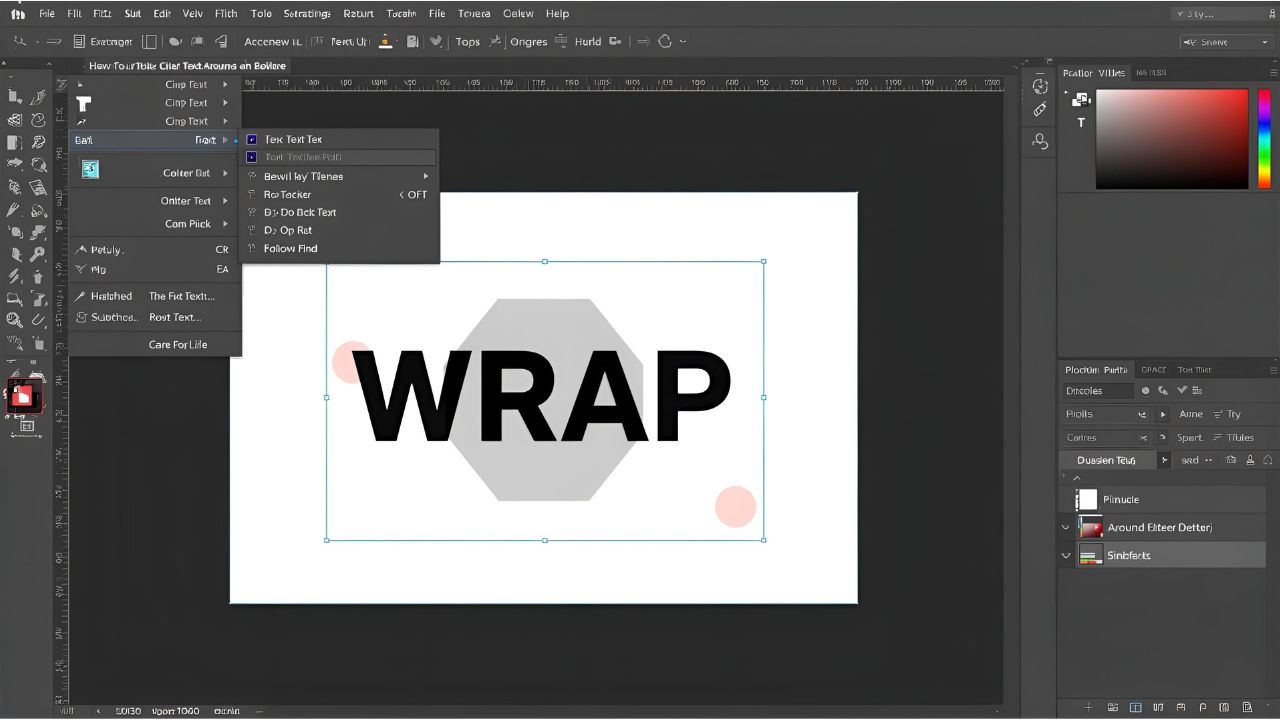
If you’re a designer using Adobe Illustrator, knowing how to wrap text in Illustrator is an essential skill. Wrapping text around images, shapes, or paths can make your designs look professional and visually appealing. Whether you’re creating flyers, posters, or digital artwork, mastering text wrapping improves both readability and aesthetics.
This guide will take you through the process of wrapping text around shapes and objects in Illustrator, along with tips to make your design workflow smoother.
Understand Text Wrapping in Illustrator
Text wrapping in Illustrator means arranging your text so that it flows around an object rather than overlapping it. Unlike Photoshop, Illustrator doesn’t automatically wrap text, but you can achieve the effect using Object > Text Wrap or by converting objects into paths.
Key points:
- Works best with vector shapes or objects
- Text remains editable after wrapping
- Offers precise control over spacing and alignment
Prepare Your Text and Object
Before wrapping text:
- Create or select the text you want to wrap using the Type Tool (T).
- Create or select the object around which you want the text to wrap. This could be a circle, rectangle, or custom shape.
- Ensure the object is above or in front of the text in the Layers panel.
Proper arrangement ensures Illustrator applies the text wrap correctly.
Apply Text Wrap
Follow these steps to wrap text around an object:
- Select the object you want the text to wrap around.
- Go to Object > Text Wrap > Make.
- Illustrator automatically wraps the text around the object.
Tip:
If the text doesn’t move, check that the object is not grouped with other elements, and make sure it is on top of the text layer.
Adjust Wrap Options
To control spacing and appearance:
- With the object selected, go to Object > Text Wrap > Text Wrap Options.
- Adjust the offset value to increase or decrease the space between the object and text.
- Check Preview to see changes in real-time.
Adjusting these settings ensures your text looks balanced and readable.
Wrap Text Around Irregular Shapes in Illustrator
Text wrapping isn’t limited to circles or rectangles. For irregular shapes:
- Use the Pen Tool (P) to create a custom path around the object.
- Select the text and go to Type > Type on a Path > Make.
- Adjust the path alignment and spacing as needed.
This method allows text to flow naturally around complex shapes while maintaining readability.
Tips for Better Text Wrapping
- Use Paragraph Styles: Consistent font size and spacing improve overall design.
- Avoid Overlapping: Ensure objects don’t interfere with the text wrap path.
- Break Text into Sections: For large bodies of text, wrap sections individually around multiple objects.
- Preview Before Export: Check for readability at actual size, especially for print projects.
Good habits make your Illustrator designs more professional and easier to edit later.
Common Issues and How to Fix Them
- Text not wrapping: Make sure the object is selected and on top of the text.
- Object disappearing: Check the layer order and object visibility.
- Text spacing too tight: Increase the Text Wrap offset in options.
- Path wrapping not smooth: Simplify your path or adjust anchor points for smoother flow.
Knowing these solutions prevents frustration and keeps your workflow efficient.
Final Thoughts
Mastering how to wrap text in Illustrator allows you to create dynamic and visually appealing designs. Whether wrapping text around simple shapes or intricate paths, the key is understanding layer order, using the Text Wrap options, and previewing your changes.
With these techniques, you can enhance posters, flyers, infographics, and digital artwork, making your designs professional, readable, and visually captivating.
Leave a Reply