
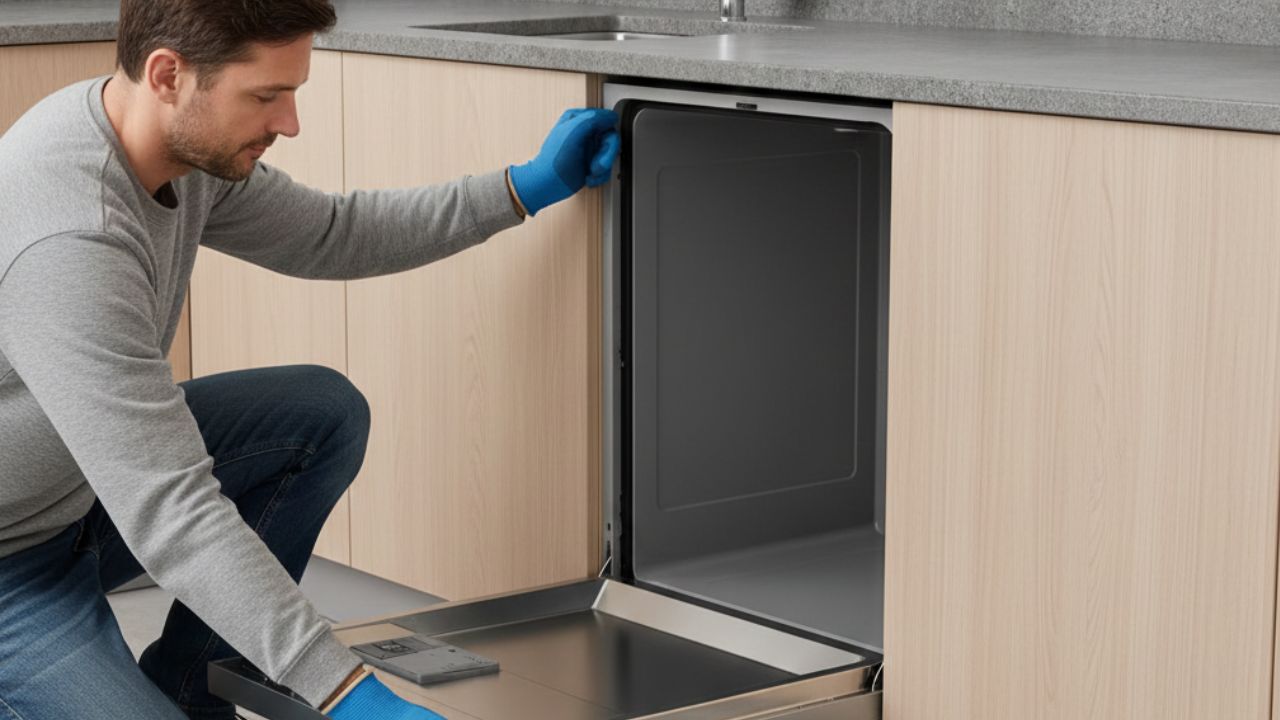
Removing an integrated dishwasher can seem like a daunting task, especially if it’s built seamlessly into your kitchen cabinetry. Whether you’re replacing a faulty unit, upgrading to a newer model, or renovating your kitchen, knowing how to remove an integrated dishwasher correctly is essential. Integrated dishwashers are designed to blend with your kitchen cabinets, which makes them less visible but slightly more complex to remove than freestanding units.
This guide provides professional, step-by-step instructions, safety tips, and expert advice to ensure the process is smooth, safe, and efficient.
Tools and Materials You’ll Need
Before starting, make sure you have the following tools and materials:
- Screwdriver set (flathead and Phillips)
- Adjustable wrench
- Pliers
- Towels or a small bucket (to catch water)
- Utility knife (optional, for sealing trims or caulking)
- Flashlight
Having these tools ready will make the removal process easier and prevent unnecessary delays.
Step 1: Prepare Your Kitchen
Proper preparation is key to a safe removal process:
- Turn Off the Power: Switch off the dishwasher’s power at the circuit breaker to avoid electrical hazards.
- Turn Off the Water Supply: Locate the water supply valve under the sink and close it.
- Empty the Dishwasher: Remove all dishes, racks, and any detachable parts.
- Clear the Area: Move items from under the sink and around the dishwasher to create space.
Preparation ensures safety and prevents water or electrical accidents.
Step 2: Disconnect Water and Drainage Lines
Integrated dishwashers are connected to the plumbing, so careful disconnection is necessary:
- Locate the water inlet hose connected to the dishwasher. Use a wrench to loosen and remove it.
- Place a towel or small bucket underneath to catch any residual water.
- Disconnect the drain hose from the sink or garbage disposal.
- Check for any additional clips or fittings securing the hoses and remove them.
Carefully handling these connections prevents leaks and damage to plumbing.
Step 3: Disconnect Electrical Wiring
Most integrated dishwashers are hardwired or connected via a plug:
- If hardwired, carefully remove the access panel to expose the wiring.
- Take note of the wiring configuration or take a photo for reference when installing a new unit.
- Use a screwdriver to loosen wire nuts and disconnect the wires.
- If the dishwasher uses a plug, simply unplug it from the power outlet.
Safety Tip: Always double-check that the power is off before touching electrical wiring.
Step 4: Remove Securing Screws
Integrated dishwashers are typically secured to the countertop or cabinet frame:
- Open the dishwasher door and locate mounting screws on the top or sides.
- Use a screwdriver to remove these screws carefully.
- Check for additional brackets or fasteners that may secure the unit.
Removing all securing screws ensures the dishwasher can slide out smoothly without damage.
Step 5: Carefully Slide Out the Dishwasher
With all connections removed, you can now remove the dishwasher:
- Check that the water and electrical connections are free and won’t snag.
- Tilt the dishwasher slightly backward if needed to clear the cabinet.
- Slowly slide the dishwasher out of the cabinetry.
- Place towels or a mat on the floor to prevent scratches as you move the unit.
Take your time during this step, as integrated units can be heavy and unwieldy.
Step 6: Inspect and Prepare for Replacement
Once removed:
- Inspect the space for damage, leaks, or debris.
- Clean the area to prepare for a new dishwasher or other installation.
- Check the water supply, drainage, and electrical connections to ensure they are ready for the next unit.
Proper inspection helps prevent installation issues and ensures a smooth replacement.
Professional Tips for Removing an Integrated Dishwasher
- Always have a helper when moving the dishwasher to avoid injury or damage.
- Keep track of all screws, brackets, and small components for reinstallation.
- Take photos during disconnection to reference when installing a new unit.
- Use protective gloves to avoid cuts from metal edges.
- If you are unsure about plumbing or electrical connections, consider hiring a professional to avoid damage or safety hazards.
Final Thoughts
Learning how to remove an integrated dishwasher is crucial for homeowners tackling kitchen upgrades or repairs. By following these professional steps—preparing the kitchen, disconnecting plumbing and wiring, removing securing screws, and carefully sliding out the unit—you can safely and efficiently remove your dishwasher without damaging cabinets or surrounding fixtures. Proper planning, the right tools, and a careful approach make the process straightforward and stress-free, even for first-time DIYers.
Leave a Reply