
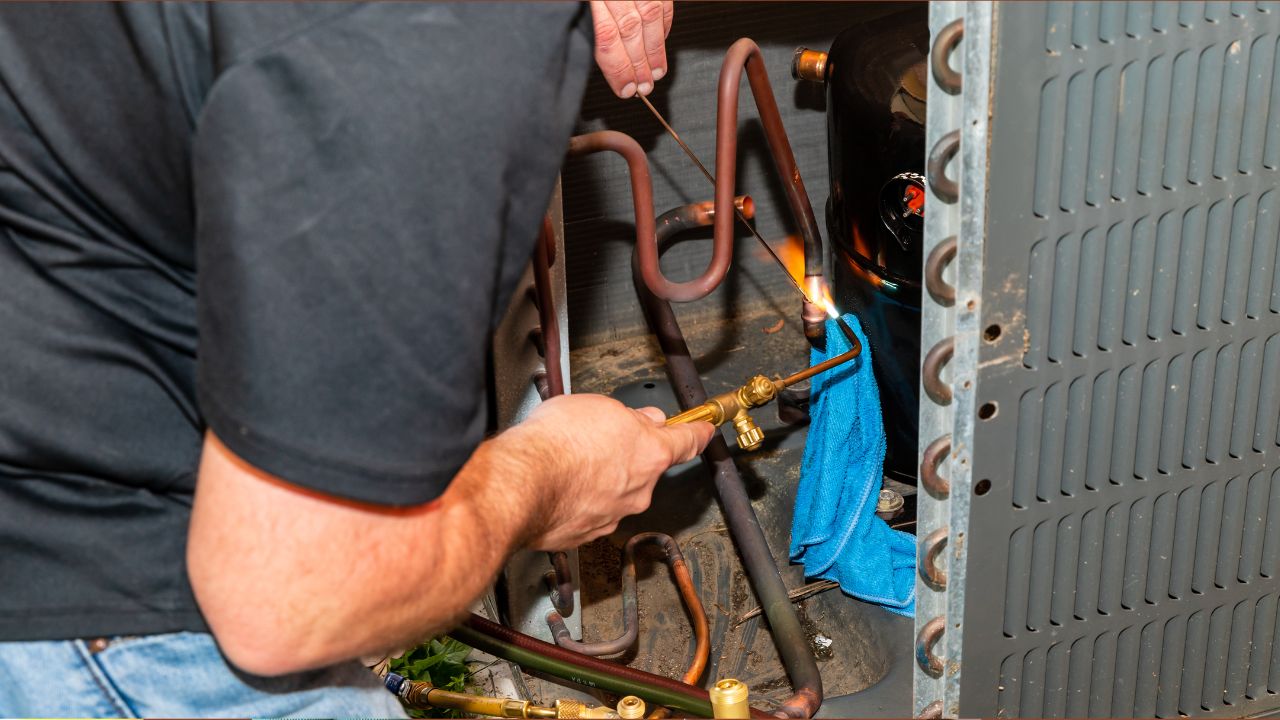
If you are working on plumbing, HVAC systems, or DIY copper projects, knowing how to braze copper is an essential skill. Brazing is a process that joins two pieces of copper using a filler metal, creating a strong, leak-proof connection. Unlike soldering, brazing uses higher temperatures, resulting in a more durable bond.
This guide will walk you through the tools, materials, and step-by-step process for brazing copper safely and effectively, whether you are a beginner or a DIY enthusiast.
What is Copper Brazing?
Brazing is a metal-joining technique in which a filler metal is melted and drawn into the joint by capillary action. The base metals, in this case, copper, are heated but not melted. The filler metal cools to form a strong bond between the copper pieces.
Brazing copper is commonly used in plumbing, refrigeration, and HVAC systems due to the durability and leak-resistance of the joints.
Tools and Materials Needed
To braze copper successfully, you will need the following:
- Copper pipes and fittings – Clean and properly cut pieces.
- Brazing rod – Usually a copper-phosphorus or silver-copper alloy.
- Torch – Propane or oxy-acetylene torch suitable for copper brazing.
- Flux – Helps the filler metal flow and prevents oxidation.
- Wire brush or sandpaper – To clean pipe surfaces.
- Heat-resistant gloves and goggles – Safety first!
- Fire-resistant cloth or pad – To protect surfaces from torch heat.
Having the right tools ensures a clean, secure, and reliable copper brazing connection.
Step-by-Step Process: How to Braze Copper
1. Prepare the Copper Surfaces
Start by cutting the copper pipes to the required length using a pipe cutter. Clean the ends thoroughly with a wire brush or sandpaper to remove oxidation, dirt, and oil. Proper cleaning ensures the filler metal adheres effectively.
2. Apply Flux
Apply a thin layer of flux to the cleaned ends of the copper pieces. Flux prevents oxidation during heating and helps the brazing rod flow smoothly into the joint.
3. Assemble the Joint
Fit the copper pipe and fitting together. Ensure a snug fit without gaps, as capillary action works best when the joint is tight.
4. Heat the Joint
Use the torch to evenly heat the joint. Move the flame in a circular motion around the pipe and fitting. The goal is to heat the copper until it reaches the proper brazing temperature (usually around 450–600°C).
5. Apply the Brazing Rod
Once the copper is hot enough, touch the brazing rod to the joint. The rod should melt and flow into the joint by capillary action. Avoid directly heating the rod with the flame; let the heated copper melt it.
6. Cool and Clean
Allow the joint to cool naturally. Once cool, use a damp cloth or wire brush to remove any residual flux, which can be corrosive if left on the surface.
Tips for Successful Copper Brazing
- Use Proper Ventilation – Always work in a well-ventilated area to avoid inhaling fumes.
- Avoid Overheating – Excessive heat can damage the copper or fittings.
- Check for Leaks – After brazing, test the joint by running water or using a pressure test.
- Practice on Scrap Pieces – If you’re new, practice brazing on spare copper pieces before working on your main project.
Common Mistakes to Avoid
- Using dirty or greasy pipes – Leads to poor adhesion of the filler metal.
- Overheating the joint – Can burn the flux or weaken the copper.
- Insufficient heating – The filler metal may not flow properly.
- Applying the rod directly to the flame – Prevents proper capillary action.
Avoiding these mistakes ensures strong, leak-free brazed joints.
FAQs About How to Braze Copper
Q1: What is the difference between soldering and brazing copper?
Soldering uses lower temperatures (below 450°C) and softer filler metals, while brazing uses higher temperatures (450–600°C) and stronger filler metals. Brazing creates more durable joints.
Q2: Can I braze copper pipes without flux?
Flux is highly recommended as it prevents oxidation and ensures proper filler metal flow. Brazing without flux is possible but may lead to weak joints.
Q3: Is brazing copper safe for drinking water pipes?
Yes, if you use a brazing rod suitable for potable water and properly clean the joint after brazing.
Q4: Do I need professional training to braze copper?
While it can be done by DIY enthusiasts, practicing on scrap pieces and following safety guidelines is essential before working on critical plumbing projects.
Conclusion:
Learning how to braze copper is a valuable skill for plumbing, HVAC, and DIY projects. With the right tools, materials, and techniques, you can create strong, durable, and leak-proof joints. Remember to follow safety precautions, properly clean the surfaces, and practice your technique to achieve professional-quality results.
Leave a Reply